Table of Contents
Drywall screw head stripping calls for a stop-and-check response, not another burst of power. First identify whether the driver is damaging the cross recess, the screw is spinning in the framing, or the head is tearing through the board. Those failures can look similar from a distance but require different investigations.
For contractors and fastener buyers, the useful question is where the installation stops working. This guide provides a practical inspection sequence for drywall screw head stripping and a record to share with a supplier. It is not a product certification, a wall repair specification, or a substitute for the tool and assembly instructions.
Separate Drywall Screw Head Stripping From Other Failures
In this guide, drywall screw head stripping means damage to the drive recess that prevents the correct bit from transmitting rotation reliably. Cam-out describes the bit slipping out of engagement. One slip does not prove a defective screw, but repeatedly driving a damaged recess can destroy evidence of the original problem.
| What you observe | What to distinguish | First investigation |
|---|---|---|
| Bit rotates or slips while the screw barely turns | Recess damage or loss of bit engagement | Correct drive, bit condition, and recess condition |
| Screw rotates but does not tighten in the support | Thread engagement failure, not necessarily head damage | Actual framing, fastener specification, and hole condition |
| Head passes through or tears the board face | Seating or panel damage | Depth control and the assembly installation requirements |
| Head separates from the shank | Fastener breakage | Retain parts and request a separate technical investigation |
Record more than one symptom when necessary. Drywall screw head stripping and damaged paper can occur at the same location; repairing the appearance alone does not establish that the fastening is acceptable. Photograph the untouched location before attempting removal or covering it with finishing compound.
Confirm the Drive Type and Inspect an Unused Screw
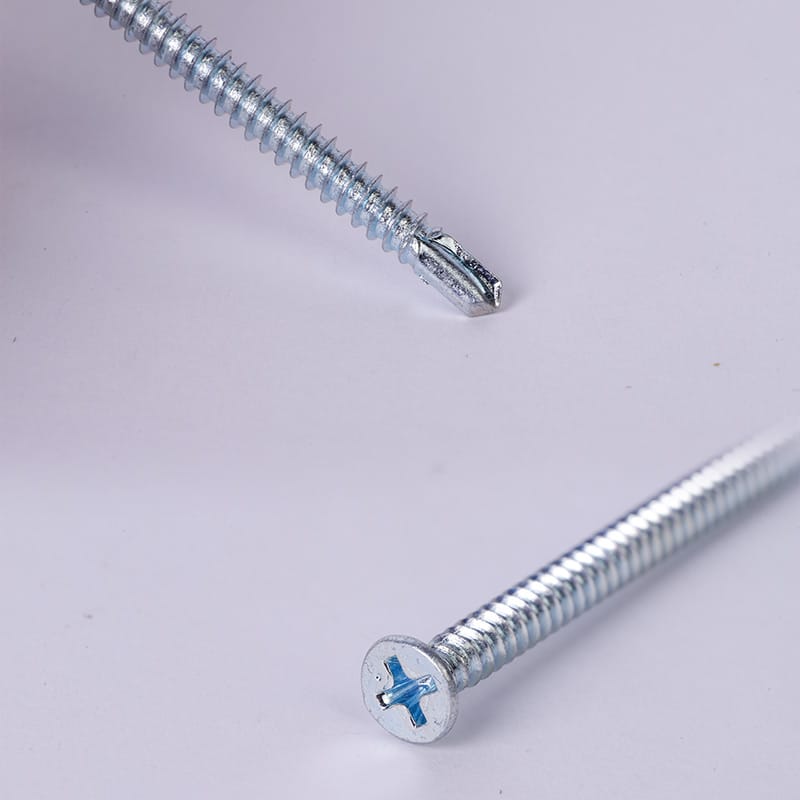
Start a drywall screw head stripping investigation with the specified drive designation. A cross-shaped recess does not make every crosshead bit interchangeable. The CCOHS screwdriver guidance emphasizes matching both type and size, keeping the tool aligned, and avoiding damaged tips. Check the actual screw specification instead of choosing a bit by appearance alone.
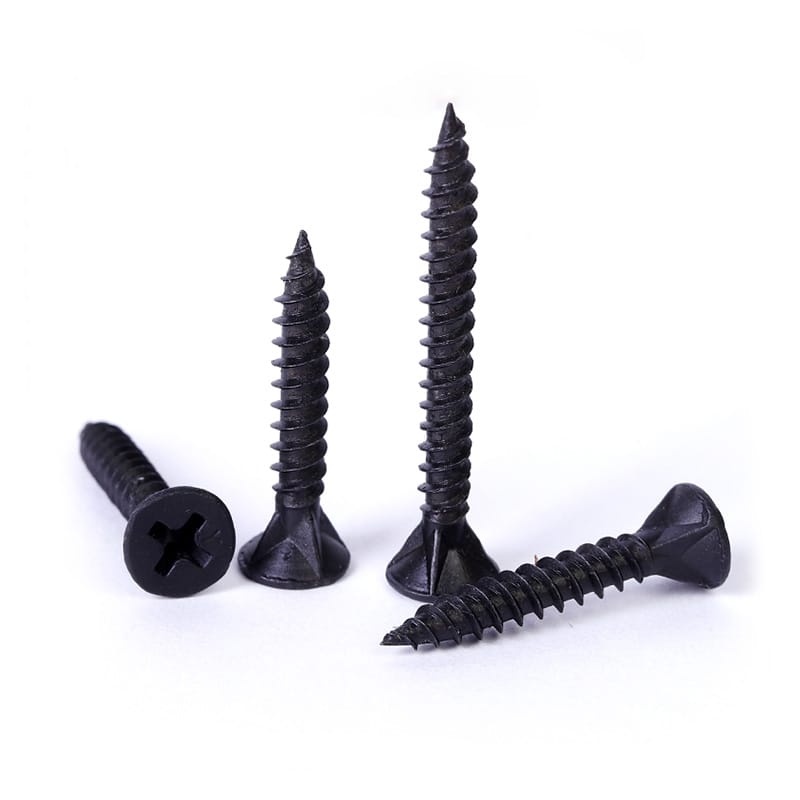
With the tool isolated, inspect the bit and a previously unused screw under good light. Look for rounded or chipped bit edges, visible recess deformation, and material obstructing engagement. Compare with a fresh bit of the specified type. Do not reshape a powered driver bit or alter the screw recess to make an unsuitable pairing fit.
For drywall screw head stripping checks, keep unused samples separate from driven screws. A worn recess photographed after several slipping attempts cannot show whether the original recess was malformed. Preserve the original bit as well, clearly labeled so it is not accidentally returned to service.
Record When the Driver Loses Engagement
Failure timing makes a drywall screw head stripping report more useful. Does slipping start before the point enters, while the screw advances through the support, or only as the head reaches the board? Note the stage without immediately naming a cause. A short observation made during an approved sample installation can be more informative than a photograph of the final damage.
Stop the tool before examining parts. Follow the manufacturer’s isolation procedure before changing a bit or adjusting the depth mechanism. CCOHS powered-tool safety guidance addresses disconnecting power before adjustments and accessory changes. Use the protective equipment and work support appropriate to the task; do not hold small test pieces near a rotating driver.
If drywall screw head stripping appears only near final seating, include the tool’s depth-control arrangement in the review. Check that the specified accessory is fitted and adjusted according to its instructions. Do not compensate by leaning harder on the driver or inventing a higher torque setting. There is no single setting that this article can responsibly prescribe for every tool and wall assembly.
Check Whether the Screw Matches the Support
A damaged recess may be the visible outcome of a problem elsewhere in the fastening process. Before attributing drywall screw head stripping to head quality, confirm the screw point, thread, length, board build-up, and actual support. Record backing plates or overlapping steel separately from ordinary stud locations.
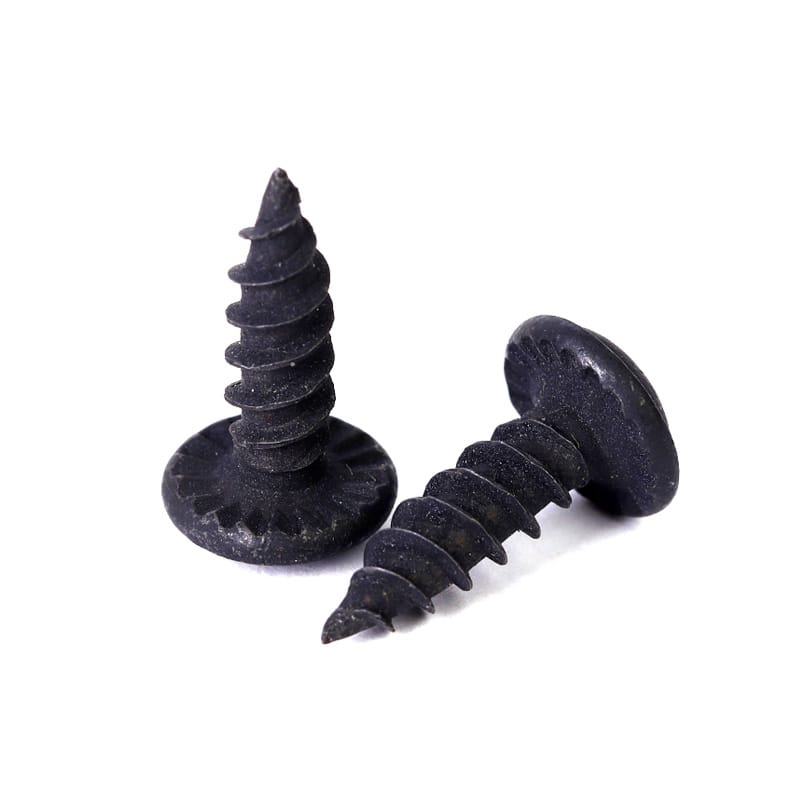
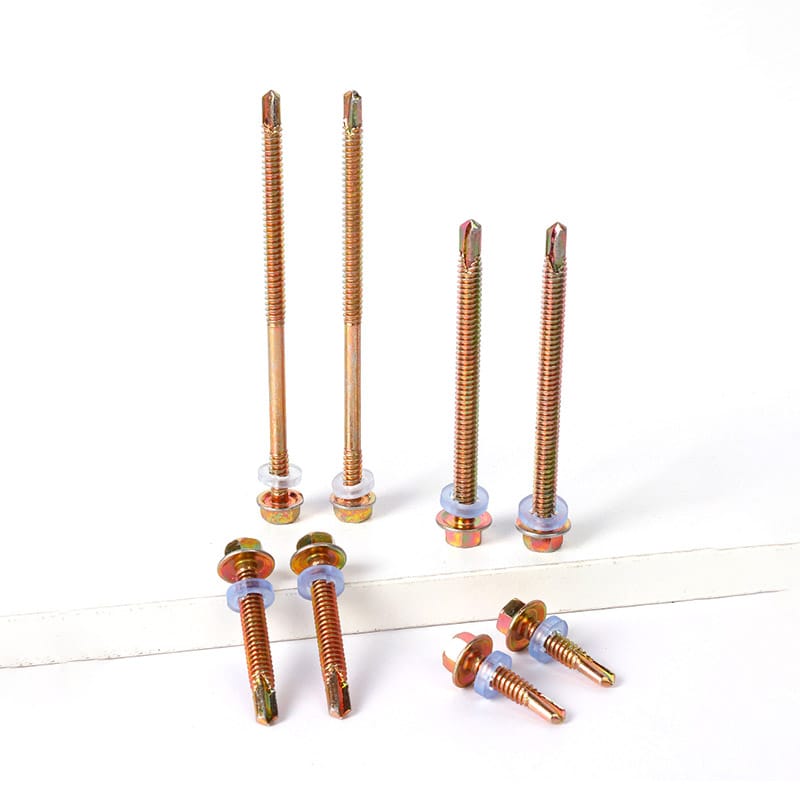
For steel framing, use the guide to matching screw points with steel thickness to review the selection question. Do not assume that a sharp point and a drill point have the same application range, or that a longer fastener solves a penetration problem. Those checks are separate from assessing the recess.
Compare Samples Without Changing Everything
Investigate repeated drywall screw head stripping on representative offcuts or a suitable mock-up, not by creating additional defective fastenings in finished work. Use only a tool, fastener, and substrate combination allowed by the relevant instructions. Agree who will assess the results and what would justify stopping the trial.
Keep the substrate, screw specification, tool setup, and installation method unchanged while assessing a fresh, correctly specified bit. Document the original setup first. If the symptom remains, compare separately identified screw samples under the same permitted conditions. Change one variable at a time; swapping the tool, bit, screw size, and support together makes the result difficult to interpret.
Record both the number of attempted installations and the number showing drywall screw head stripping. Include where each failure began. A small comparison can help direct an investigation, but it does not establish a shipment-wide defect rate or authorize release of a lot against an unstated acceptance rule.
Resolve Damaged Installed Fasteners Before Finishing
Treat an installed screw affected by drywall screw head stripping as an item requiring assessment. Do not assume that being below the surface makes it acceptable. Avoid repeated blind attempts at driving or improvised extraction methods that can enlarge the damaged area or affect concealed services.
Before resuming work after drywall screw head stripping, follow the board, fastener, and assembly instructions for removal, replacement, spacing, and repair. Refer unresolved cases to the responsible installer or technical authority. In a rated wall or ceiling, a successful trial with a different screw is not approval to change the specified assembly.
Send the Supplier a Traceable Evidence Package
A useful drywall screw head stripping report identifies the order, lot, carton, screw dimensions, drive designation, tool model, bit type and condition, substrate, and installation stage. Include clear photographs of unused and damaged recesses separately. Retain labeled samples rather than sending only the most severely damaged head.
When reviewing drywall screw head stripping, ask the supplier to compare the retained parts with the agreed drawing and inspection requirements. Do not diagnose heat treatment, hardness, or lot conformity from the black finish or a photograph. Where testing is needed, agree the method, sample identity, and acceptance criteria before interpreting the result.
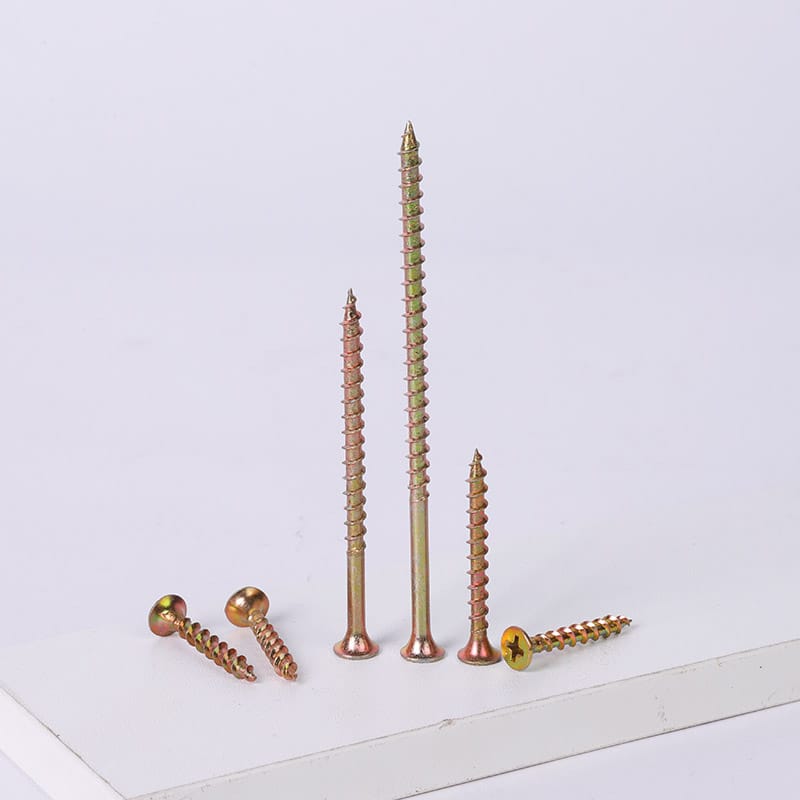
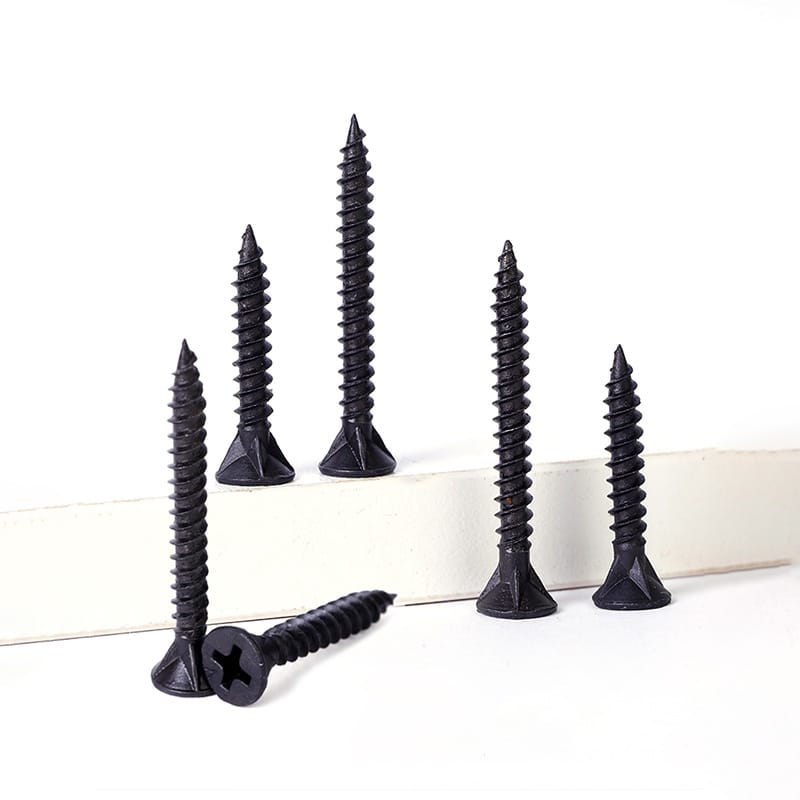
For Yizhengyu’s PH2 bugle head drywall screws, request confirmation of the exact supplied specification and matching drive requirements. Share the evidence package when discussing drywall screw head stripping, or send the intended board and framing details before ordering evaluation samples. That gives the discussion a specific technical starting point.
FAQ
Does drywall screw head stripping always mean the screw is defective?
No. Incorrect or worn bits, poor engagement, tool setup, and an unsuitable application also require review. Preserve unused and damaged samples before assigning a cause.
Is a spinning screw the same as a stripped head?
Not necessarily. If the screw itself rotates without tightening, inspect thread engagement and the support. If the bit slips while the screw barely turns, examine the recess and bit engagement.
Should I increase torque to stop drywall screw head stripping?
Do not treat more torque as a general remedy. Stop, check the drive pairing and installation stage, and follow the permitted settings for the actual tool, screw, and assembly.
Can a fresh bit solve drywall screw head stripping?
It may help if the original bit was worn or incorrect. An improvement identifies a possible contributor, but a small installation comparison does not establish screw-lot compliance or a shipment-wide acceptance result.
What evidence should I keep after drywall screw head stripping?
Keep the lot and carton references, unused screws, damaged screws, and the labeled original bit. Record substrate details, tool setup, attempted installations, failures, and the stage at which engagement was lost.