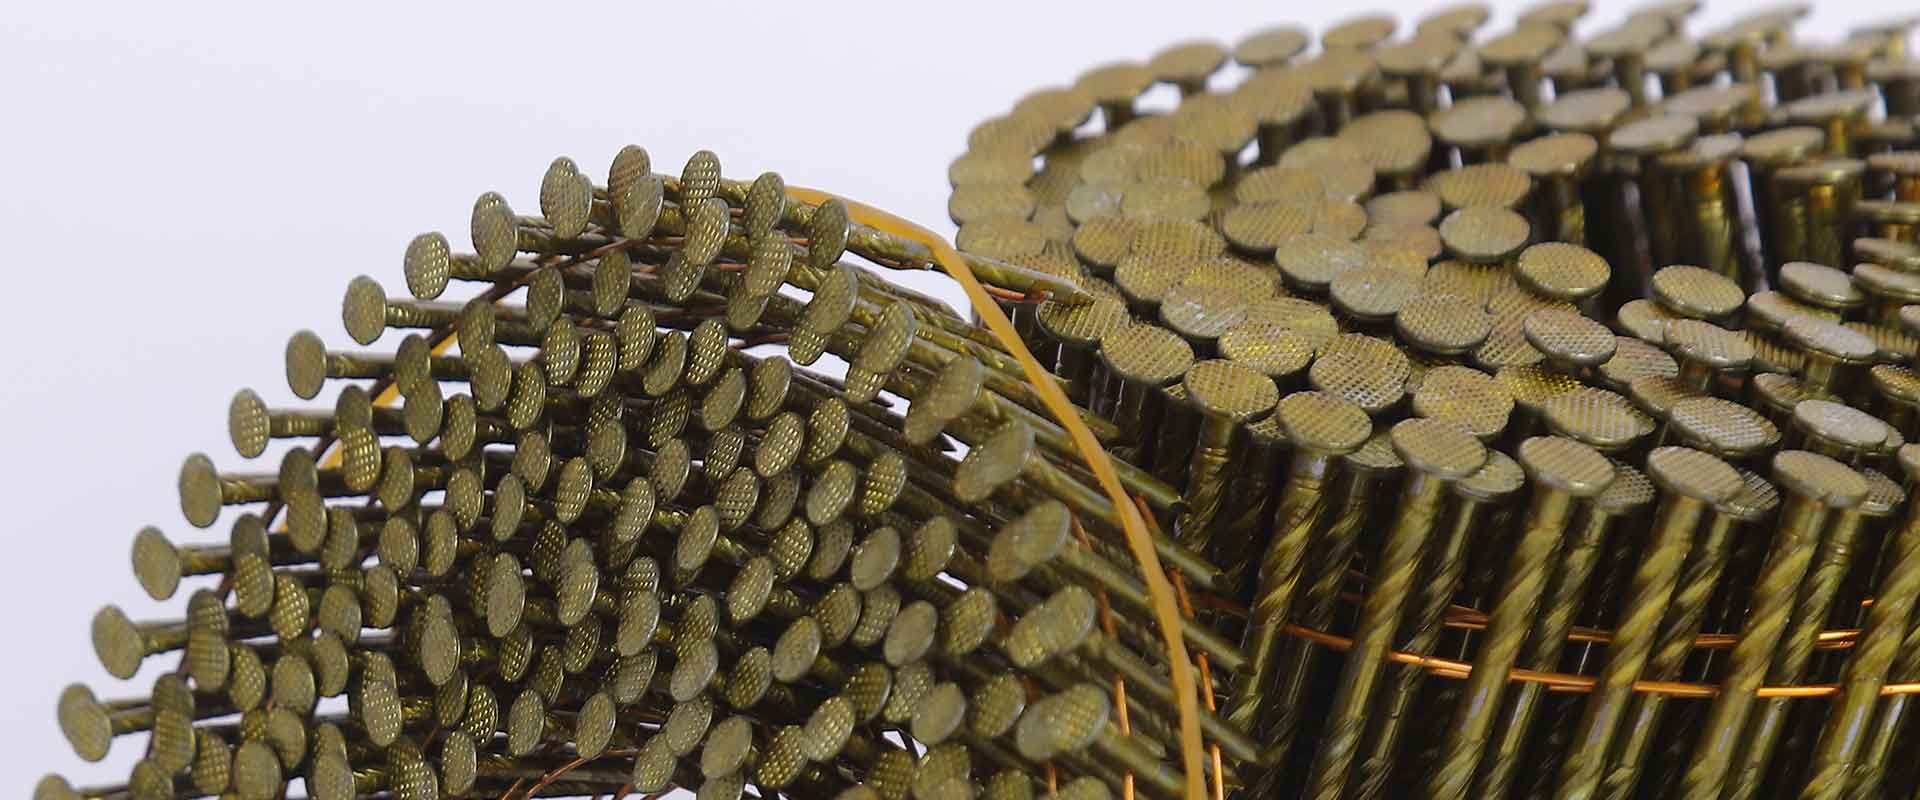
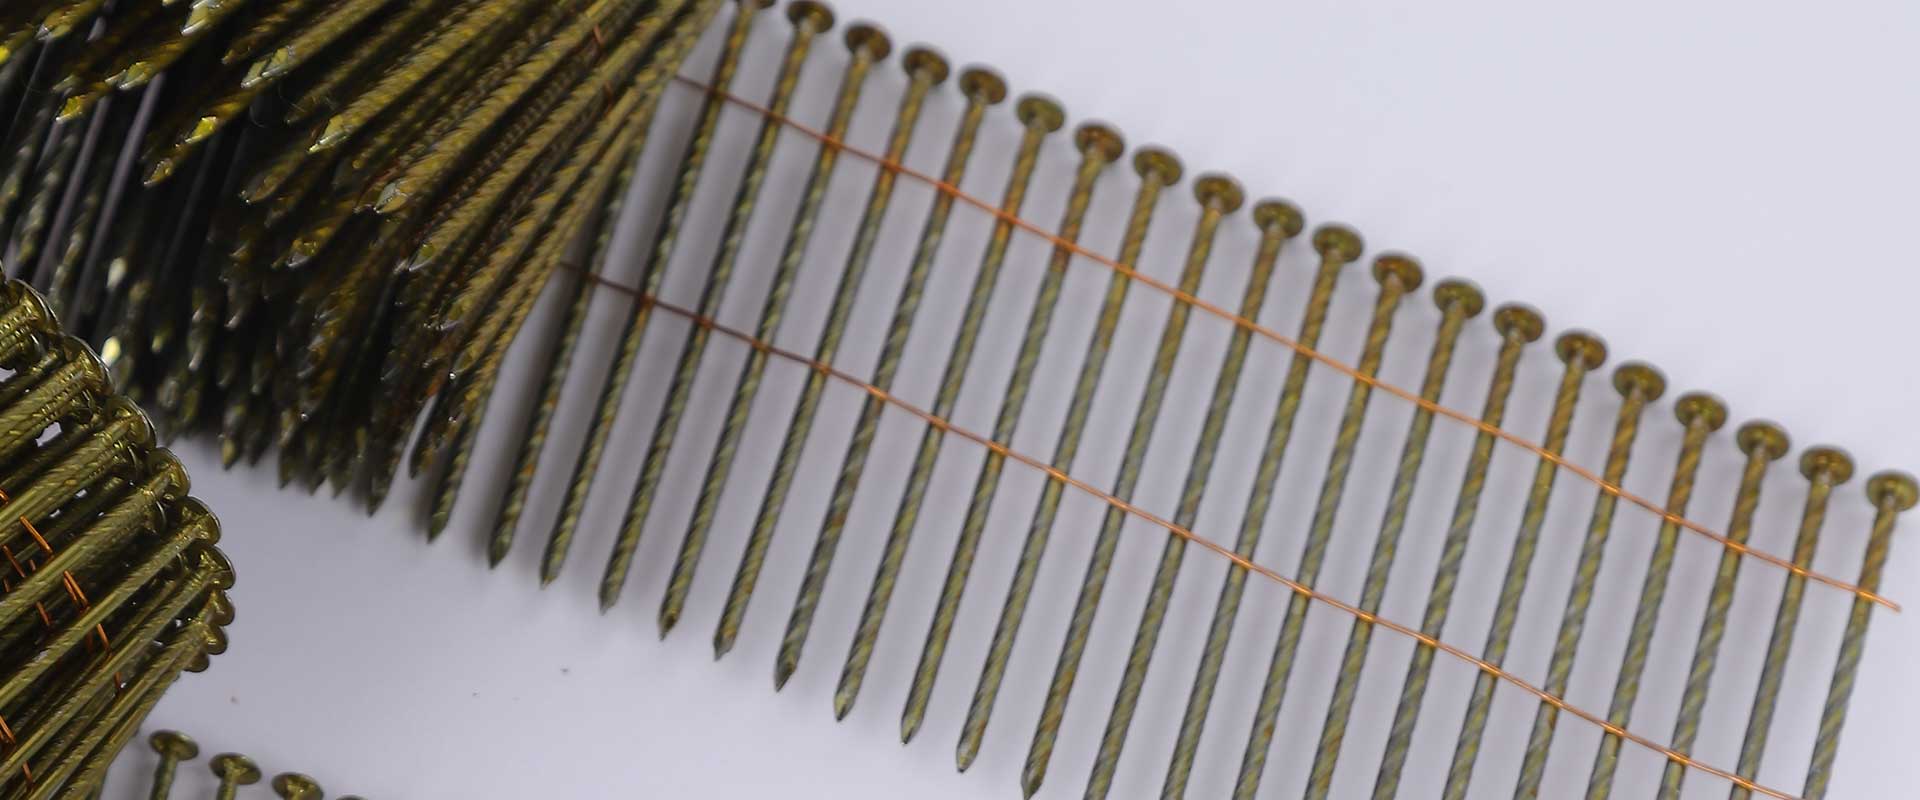
Table of Contents
A nail head buried in a wood panel is not evidence of a stronger fastening. Before adjusting coil nail depth of drive, stop the affected work and identify the required head position for that assembly. Preventing another damaged panel and deciding what to do with installed fasteners are two separate tasks.
This coil nail depth of drive guide is for supervisors and buyers investigating overdriven nails in plywood or OSB fastened to wood framing. It explains how to compare symptoms, control a setup trial, and prepare a useful review record. It does not replace the panel instructions, fastening schedule, tool manual, or project engineer’s assessment.
Define the Required Coil Nail Depth of Drive
Start with the installation documents, not the depth wheel on the gun. Identify the specified nail, panel thickness, supporting member, fastening pattern, and required head position. Where flush heads are specified, a crater around the head is not the intended finish. Do not borrow a countersinking practice from finish carpentry or drywall installation.
Coil nail depth of drive describes the installed result; it is not a universal number printed on every nail carton. A tool setting that works on one panel and framing combination may need reassessment after a material change. Establish an approved reference condition before judging whether subsequent drives are acceptable.
Photograph that reference and note the controlling document revision. For broader product selection, use the coil nail and pneumatic tool compatibility guide. Here, the narrower question is whether coil nail depth of drive is damaging the panel during installation.
Separate Head Seating From Penetration Into Framing
Two distances are often confused: how far the head sits below the panel face, and how much nail penetrates the supporting wood. Increasing the first is not a substitute for specifying sufficient nail length. Coil nail depth of drive must leave the connection consistent with the approved assembly, not merely hide the head.
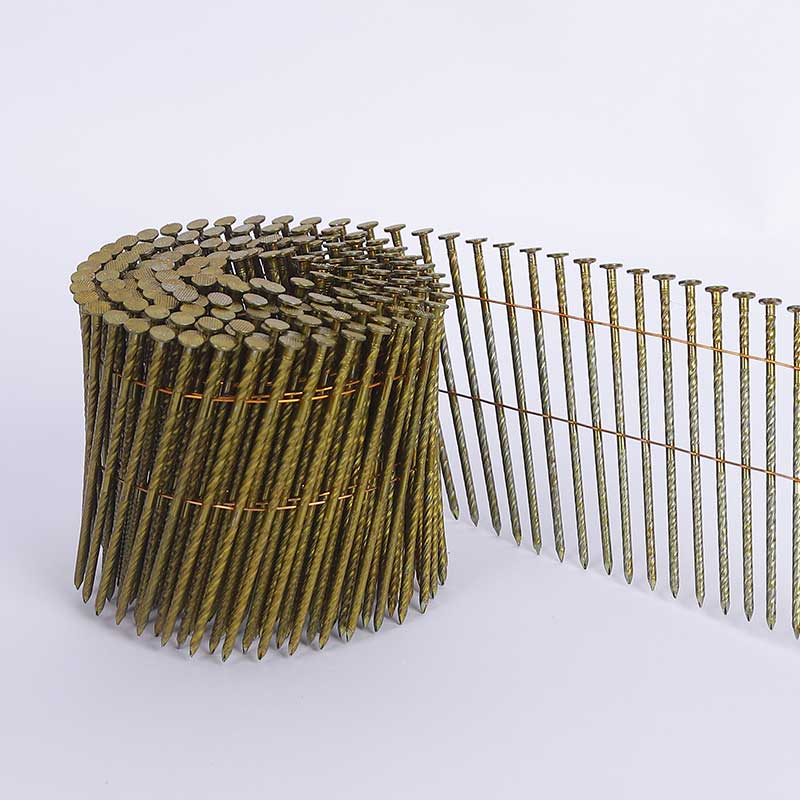
The USDA Wood Handbook chapter on fastenings treats nail penetration, withdrawal behavior, and nail-head behavior as distinct considerations. A head can pull into or through wood even when the shank resists withdrawal. Therefore, a deeper-looking installation should not be interpreted as proof of greater joint capacity.
A surface photograph cannot confirm the supporting-member penetration or prove that the nail hit framing. Record panel thickness and fastener identity, and use the project’s approved inspection method where concealed conditions are uncertain. Coil nail depth of drive alone cannot establish that the whole connection is correct.
Read the Pattern Before Changing the Gun
Map where the problem occurs. A coil nail depth of drive complaint affecting every shot calls for a different investigation from one limited to a particular panel, tool, operator, or point in the production cycle. The patterns below are leads to investigate, not diagnoses.
| Observed pattern | First comparison | What not to conclude |
|---|---|---|
| Heads consistently too deep | Required head position versus recorded tool setup | Every nail in the shipment is defective |
| Deep and proud heads mixed together | Tool condition, support, material, and supply stability | One pressure change will solve both |
| Problem begins after a coil change | Old and new fastener identification and dimensions | Matching length proves identical specification |
| Problem follows one panel area | Local material condition and framing location | All panels need the same adjustment |
| Problem appears during rapid work | Actual working sequence versus controlled trial | The first successful shot validates the setup |
Check for splits, torn panel faces, bent nails, and missed framing as separate observations. Do not label every irregular result as excessive coil nail depth of drive. If the fastener is failing to feed or becoming trapped in the nose, follow the separate coil nail jam troubleshooting sequence.
Run a Controlled Adjustment Trial
Have a trained operator use securely supported trial material representative of the actual panel and framing. Keep bystanders and hands out of the firing path, use required protective equipment, and follow the tool manual. Coil nail depth of drive checks are not a reason to disable a contact safety device or restrain recoil.
NIOSH nail-gun safety guidance calls for disconnecting the air hose before clearing jams or performing maintenance. Follow the model-specific isolation procedure before adjusting or inspecting the tool. Never reach into a connected gun to inspect a suspected obstruction.
Record the initial coil nail depth of drive and tool settings, then use the manufacturer’s prescribed depth-adjustment procedure. Keep the air supply within the tool’s specified range. Change one permitted setting at a time and inspect the results before continuing. Do not raise pressure to compensate for inconsistent coil nail depth of drive without first establishing why the results differ.
Repeat the check under the intended safe working sequence, including after a pause and during normal tool demand. If the result cannot be made stable within permitted settings, remove the tool from service for competent inspection. A single flush head does not validate coil nail depth of drive across a full panel.
Keep Fastener Changes Separate From Setup Changes
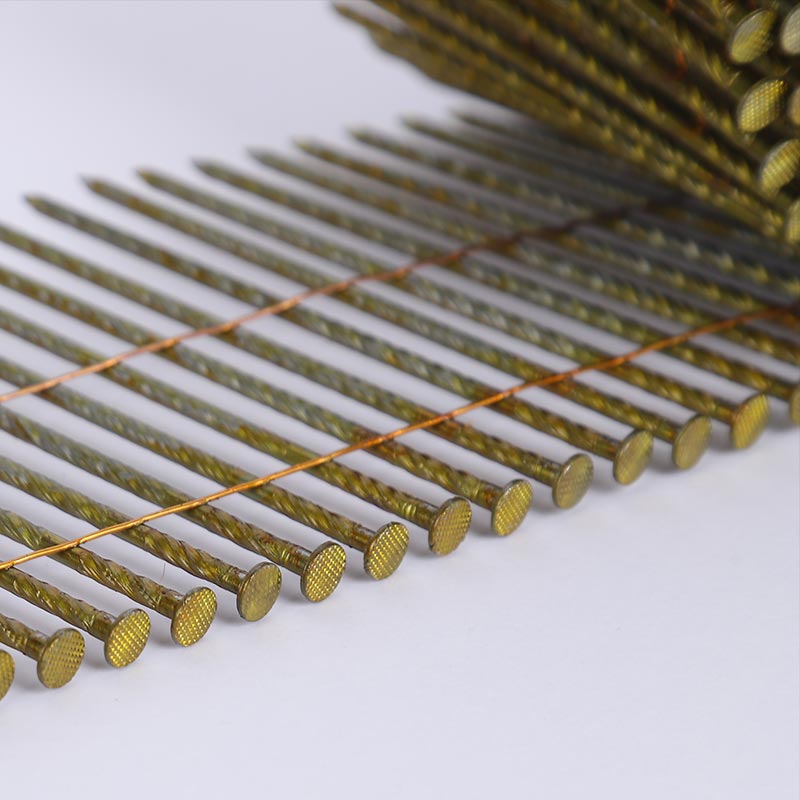
If trouble began with a new carton, preserve its label and an unused coil. Compare the approved and replacement fasteners for length, shank diameter, head dimensions, shank form, finish, and collation. A changed product is a reason to review coil nail depth of drive, not automatic proof that the supplier caused the damage.
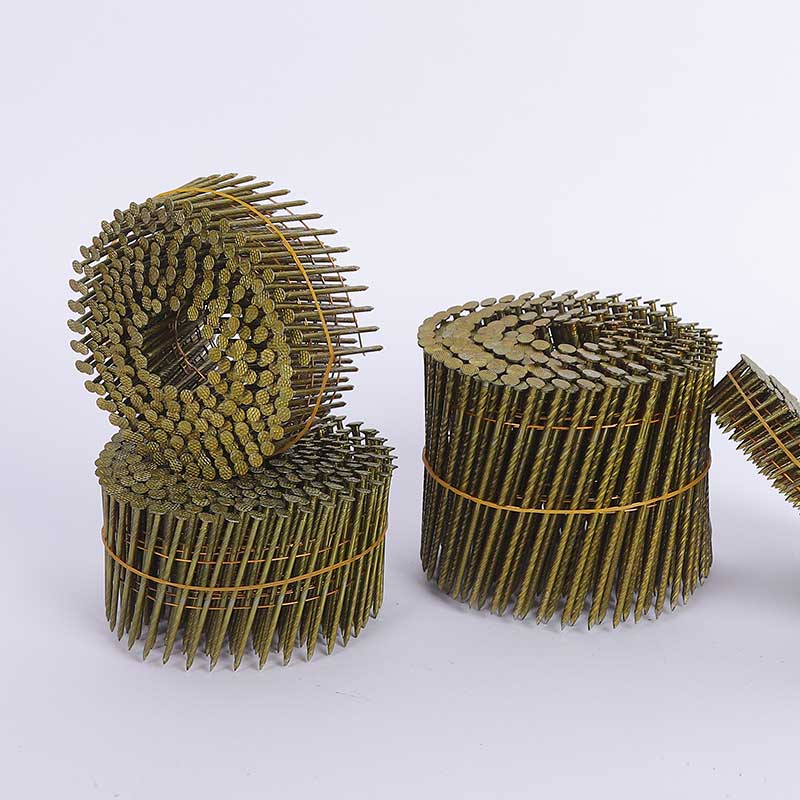
Keep the tool, material, and operating conditions documented when comparing approved samples. Do not change the nail specification and depth setting together, then attribute improvement to the new nail. That comparison would not isolate the cause of the coil nail depth of drive problem.
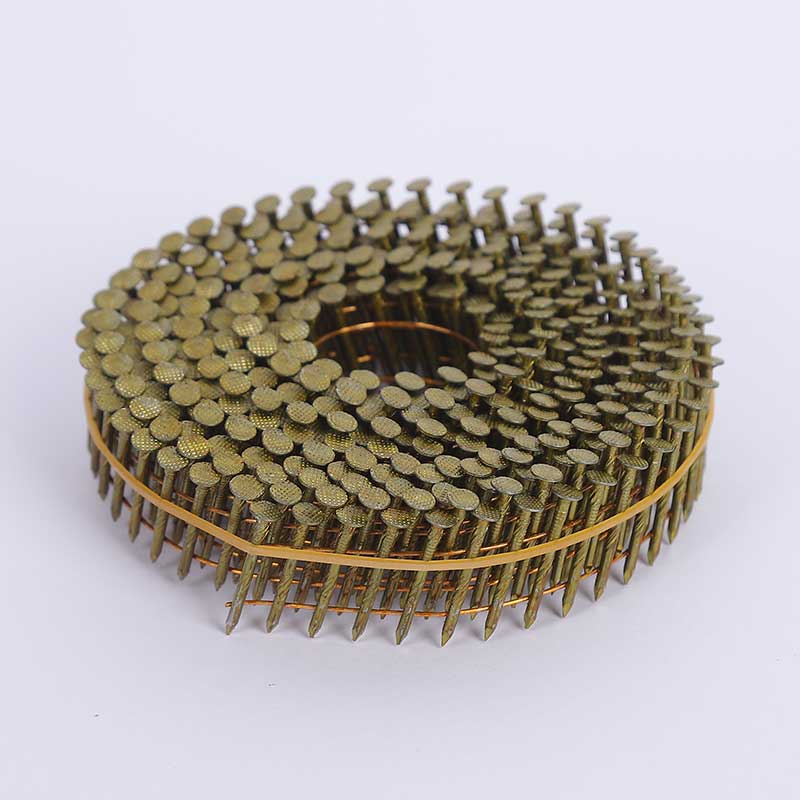
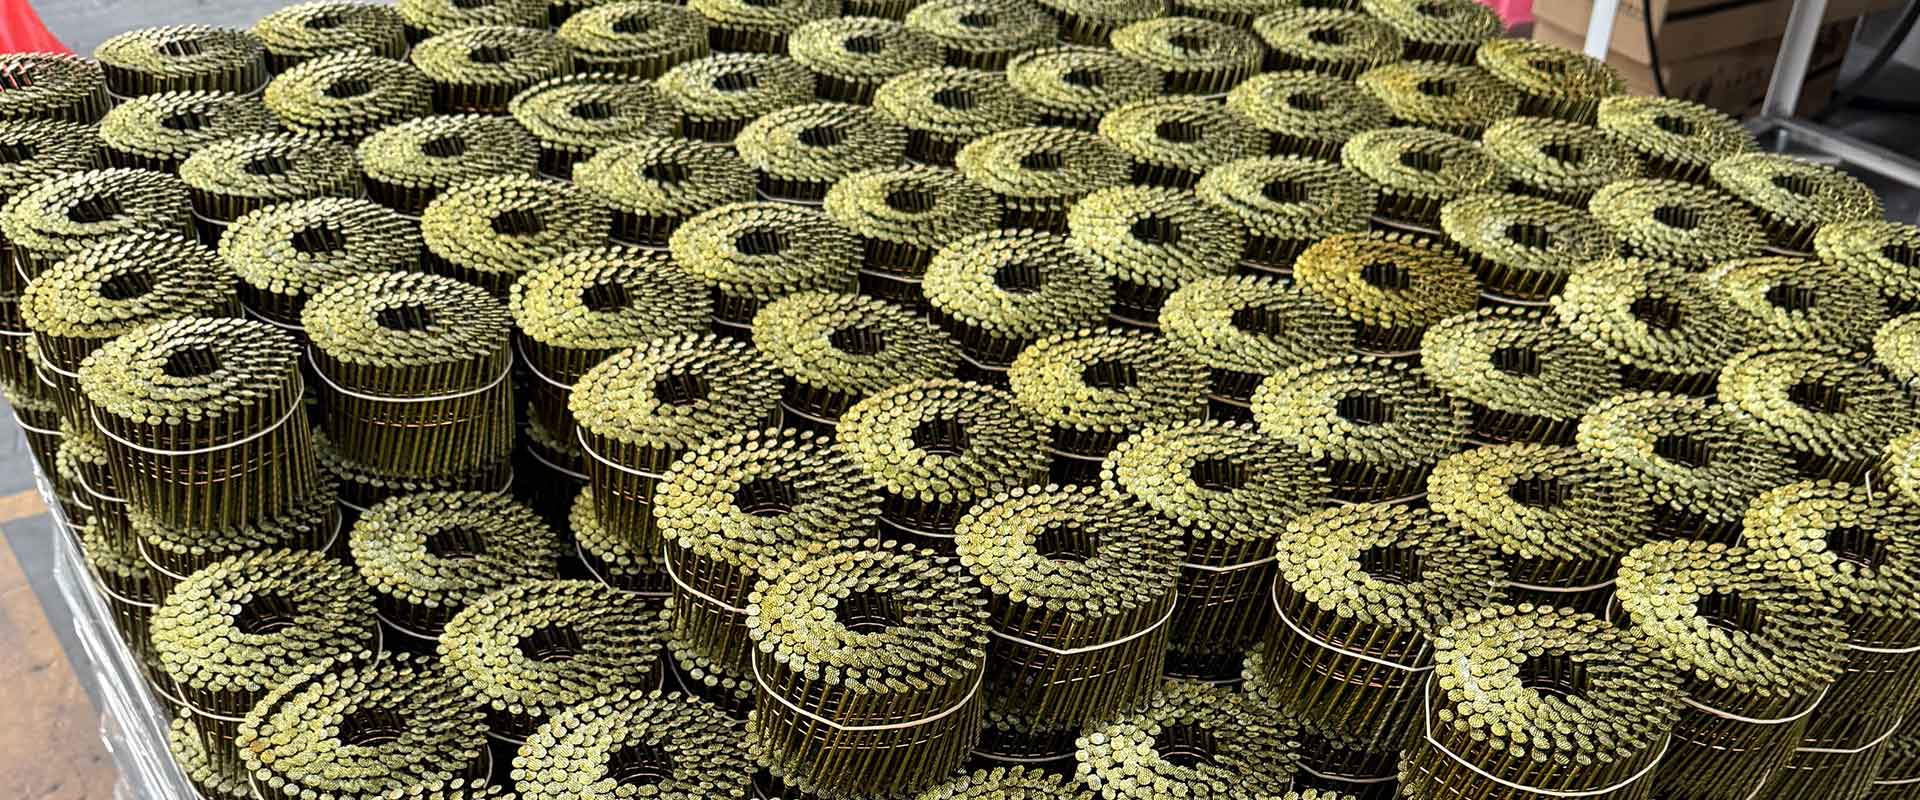
For an inquiry about Yizhengyu’s coated coil nails, provide the required dimensions, finish, tool model, panel and framing details, and labeled photographs. Ask for specification confirmation rather than a blanket promise that a different coating or shank will prevent overdriving.
Document Installed Damage Before Deciding on Rework
Correcting coil nail depth of drive on the gun does not repair fasteners already installed. Mark affected panel locations and record whether the issue is isolated or repeated along edges and intermediate supports. Include the fastening schedule, observed head recess, face damage, and any splitting or missed framing.
APA Technical Topic TT-012 addresses how overdriven fasteners can affect diaphragm and shear-wall capacity. Its assessment is conditional; it is not permission to use one universal recess limit or add nails indiscriminately to every assembly.
Send the record to the responsible project professional for disposition under the applicable documents. Do not invent a repair spacing, substitute larger nails, or treat surface filler as structural repair. Keep the coil nail depth of drive correction and the approval of existing work as separate signed-off actions.
Confirm the Correction at the Next Changeover
Before restarting, record the accepted trial condition, tool identification, settings, nail lot, and material combination. Assign someone to check the first completed work and repeat the check after relevant changes. Coil nail depth of drive should be reviewed when tools, fasteners, material, or supply conditions change, not just when damage becomes obvious.
Retain the before-and-after observations with the work record. A useful closeout explains what changed, what was checked, and who authorized release of affected work. Stable coil nail depth of drive is a process-control result; it does not waive any fastening or inspection requirement.
FAQ
What is the correct coil nail depth of drive for OSB?
Use the required head position in the panel instructions and project documents. Do not assume a universal recess allowance for every OSB thickness, fastening pattern, and structural application.
Does driving the head deeper improve holding strength?
Not necessarily. Head seating, penetration into the supporting member, and joint capacity are different issues. Crushing or penetrating the panel face is not a substitute for the specified nail and connection design.
Can air pressure alone control coil nail depth of drive?
Do not rely on pressure alone. Follow the tool manual for permitted pressure and depth adjustment, and check the actual fastener, material, support, and tool condition. Inconsistent results require investigation.
Should every overdriven nail be replaced immediately?
Do not improvise removal or additional fastening. Document the affected area and obtain the appropriate disposition. The correct action depends on the assembly and condition; removal or crowded replacement fastening can introduce further damage.
Can a supplier diagnose coil nail depth of drive from one photograph?
A photograph can show head position and visible damage, but not the entire cause. Include the tool, fastener specification and lot, material details, operating conditions, and whether the pattern changes across the work.