Table of Contents
A crack beside a nail does not explain what caused it. The board may already have been checked, the split may have opened during driving, or it may have appeared later in storage. When investigating nails splitting wood, establish that sequence before ordering a different fastener or adjusting the nailer.
For pallet, crate, and woodworking buyers, the useful question is not simply which nail splits less. It is which combination of material, placement, and fastening method meets the assembly requirements without unacceptable damage. This guide treats nails splitting wood as a troubleshooting problem, not as permission to change a structural fastening schedule.
Nails Splitting Wood: Start With the First Visible Crack
Before attributing nails splitting wood to a new fastener shipment, examine unfastened boards from the same material batch. Photograph their faces, ends, and intended fastening locations. Give each trial board an identifier so that a later photograph can be matched to its original condition. A simple before-and-after record is more useful than a pile of unidentified broken samples.
Use the following observations to organize a nails splitting wood investigation. They are starting points, not proof of a single cause. More than one mechanism may be present in the same assembly.
| Observation | What to check next | What it does not prove |
|---|---|---|
| Crack visible before fastening | Material condition and whether the location was accepted for fastening | That the nail created the original crack |
| Crack opens during driving | Actual placement, point, diameter, and approved installation method | That a different nail alone will solve it |
| Crack noticed after storage | Earlier photographs, moisture history, and storage changes | That the fastening operation played no part |
| Cracks recur in one board area | Measured end and edge distances, grain, and visible defects | That the whole fastener shipment is defective |
Measure Placement Before Blaming the Nail Lot
For nails splitting wood near an end or edge, record the actual nail-center position, not just the intended layout. Compare it with the applicable assembly drawing or fastening instructions. Also record board thickness and width, and photograph knots or existing checks near the position. An operator aiming at a line and a nail landing on that line are different observations.
The USDA Wood Handbook chapter on fastenings identifies end distance, edge distance, and spacing as factors in preventing splitting. Its discussion also notes that smaller-diameter nails are less likely to split wood. Neither observation establishes the permitted layout or nail capacity for your particular joint.
Do not move fasteners farther inward, stagger a required row, or reduce diameter without approval where the assembly specification controls those details. A nails splitting wood complaint should identify whether the work departed from the specified layout or whether a compliant layout still produced damage. Those findings require different corrective actions.
Review Point and Diameter as a Controlled Substitution
USDA describes a tradeoff: sharp points can accentuate splitting in some species, while blunt points can reduce splitting but may also reduce withdrawal resistance through fiber damage. For nails splitting wood, that is a reason to compare approved alternatives, not a reason to flatten every nail point on site.
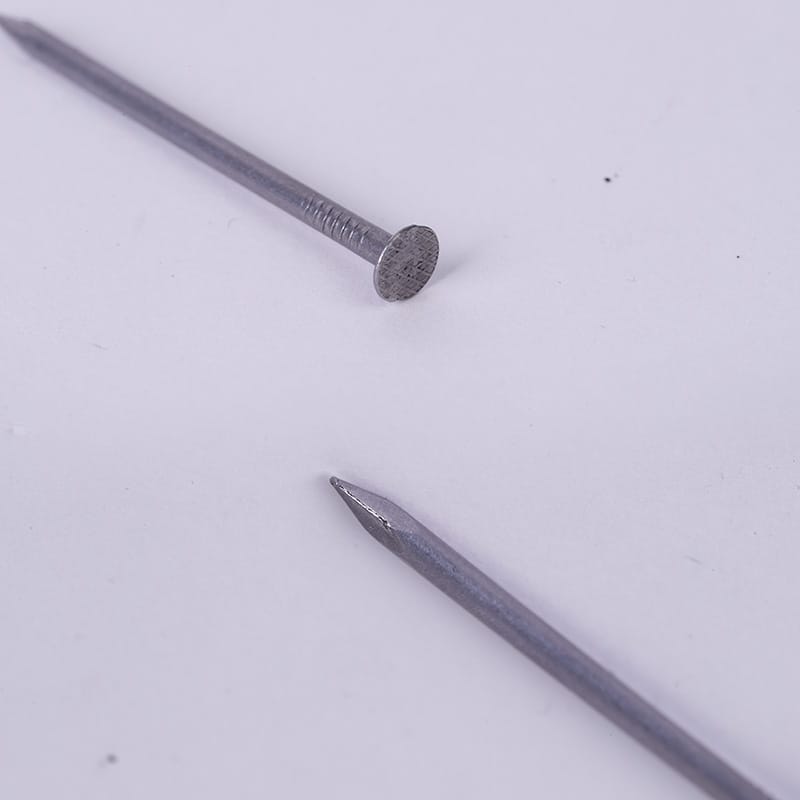
Use the nail point selection guide to frame the supplier discussion. Keep the requested point form, shank diameter, length, and finish explicit. Ask which feature an offered alternative changes; a label such as woodworking nail is not a complete specification.
In a nails splitting wood investigation, changing the point, diameter, wood batch, and tool setting together creates an ambiguous result. Even if the next sample looks better, you will not know which change mattered. Agree on one approved comparison at a time and retain the original specification as the baseline.
Use Pilot Holes Only Within an Approved Method
The same USDA fastening chapter explains that appropriately sized lead holes can reduce splitting, especially in dense wood. However, an internet rule for pilot diameter is not a universal remedy for nails splitting wood. The relevant nail, material, penetration, and assembly requirements must govern the method.
Before introducing predrilling to address nails splitting wood, ask the responsible technical person whether it is permitted and how it will be checked. For a production coil-nailing process, do not assume a manual predrilling workaround transfers directly to the machine setup. Confirm feasibility and safe workholding before arranging a trial.
Do not treat a visibly oversized hole as acceptable merely because no crack appeared. Record the approved hole specification and the actual method used. Resolving nails splitting wood must not conceal a separate failure to meet the joint requirements.
Investigate Moisture History When Cracks Appear Later
The USDA chapter on drying and dimensional changes explains how differential shrinkage during drying can produce surface and end checks. It also addresses moisture changes during transit, storage, and fabrication. A delayed nails splitting wood complaint therefore needs a material history, not just a photograph of the finished joint.
Record when the boards arrived, where they were stored, when fastening occurred, and when the defect was first noticed. Where moisture measurements are available, retain the meter type, settings, measurement locations, and readings. Do not retrospectively assign a moisture value based on how dry a board feels.
Compare unused material and completed assemblies from the same batch. Did both develop checks, or only the fastened pieces? This comparison can guide further investigation of nails splitting wood, but it does not prove causation. Escalate unexplained or safety-relevant cracking to the person responsible for material acceptance and connection design.
Run a Documented Comparison Without Unsafe Shortcuts
Before investigating nails splitting wood on a production line, isolate affected work and agree on the trial plan. Identify the baseline fastener, wood batch, tool, fastening locations, inspection timing, and acceptance criteria. Use matched material where practical, while acknowledging that individual boards vary.
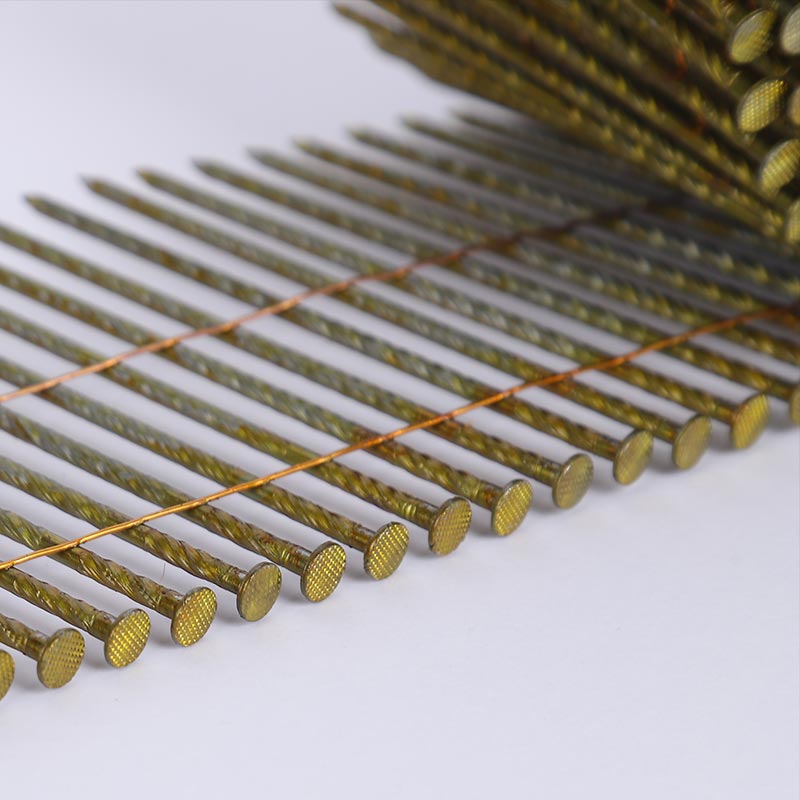
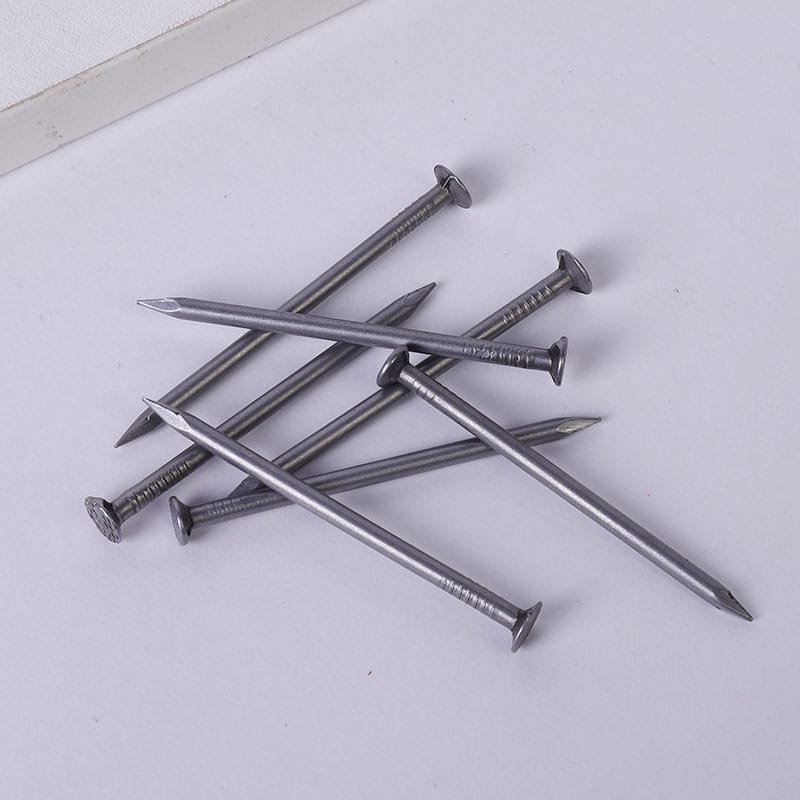
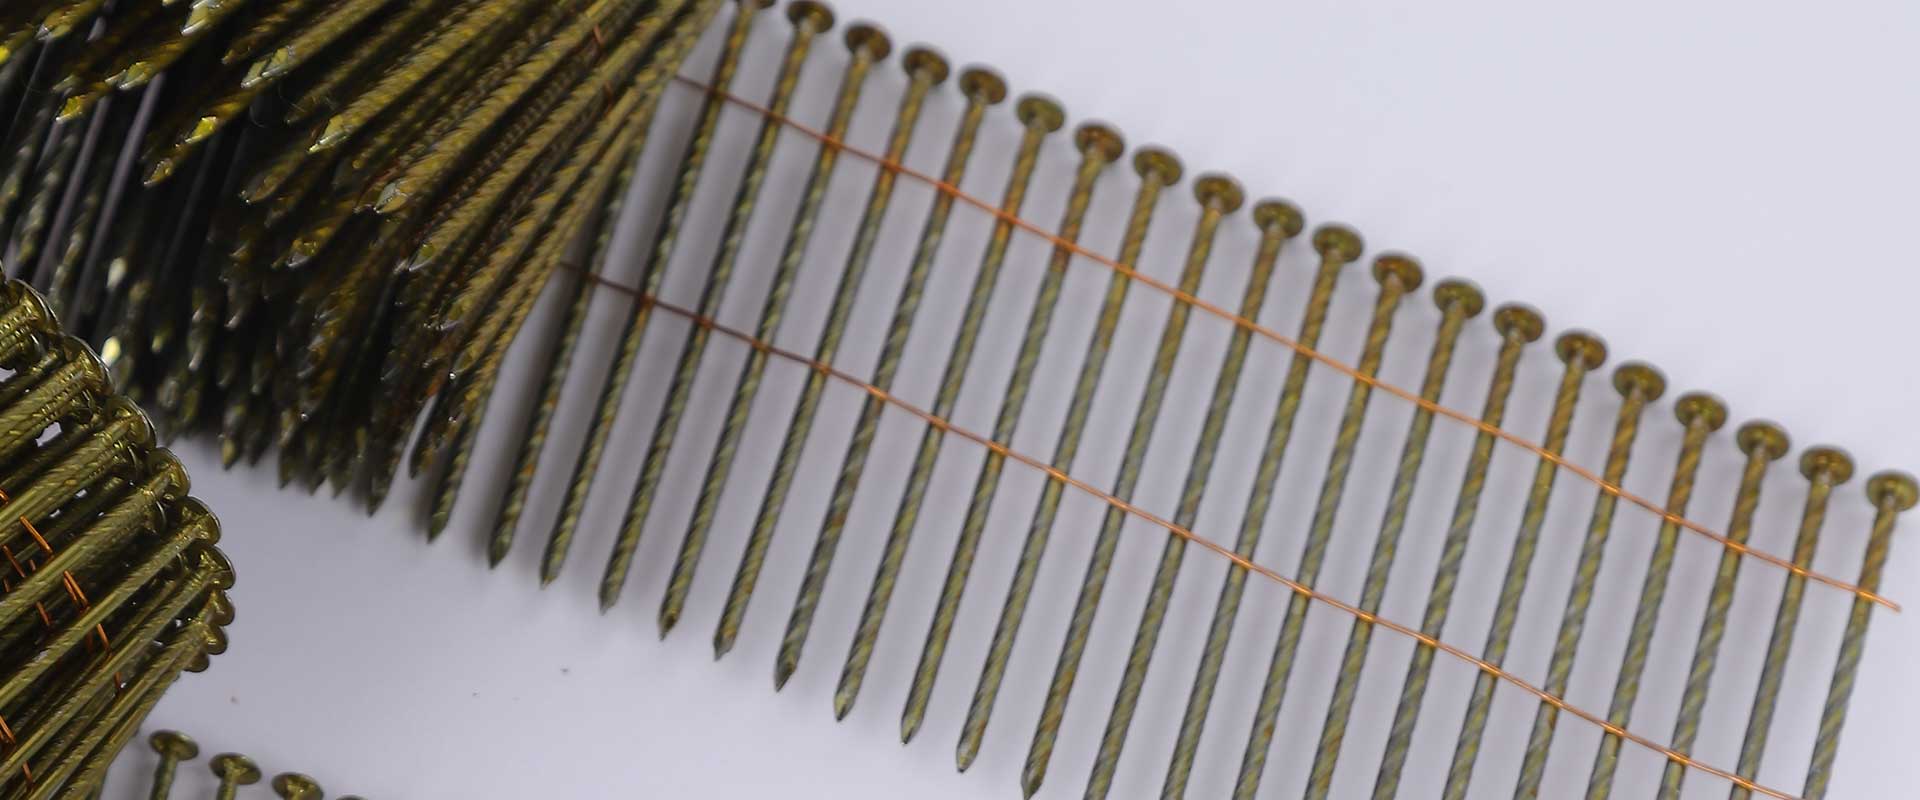
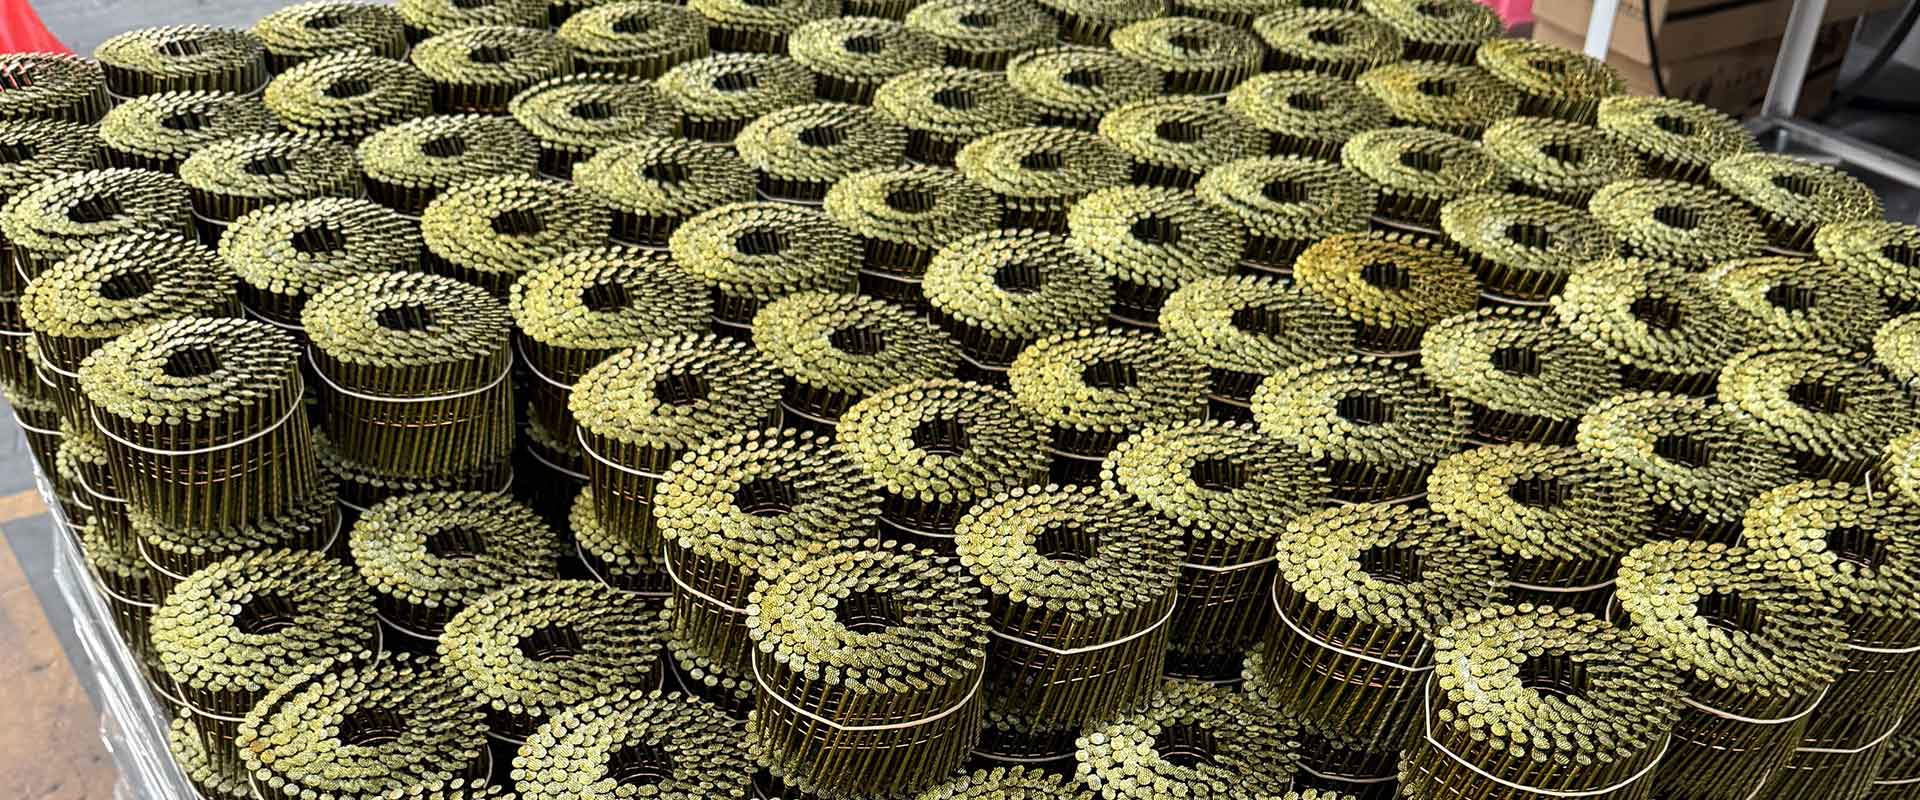
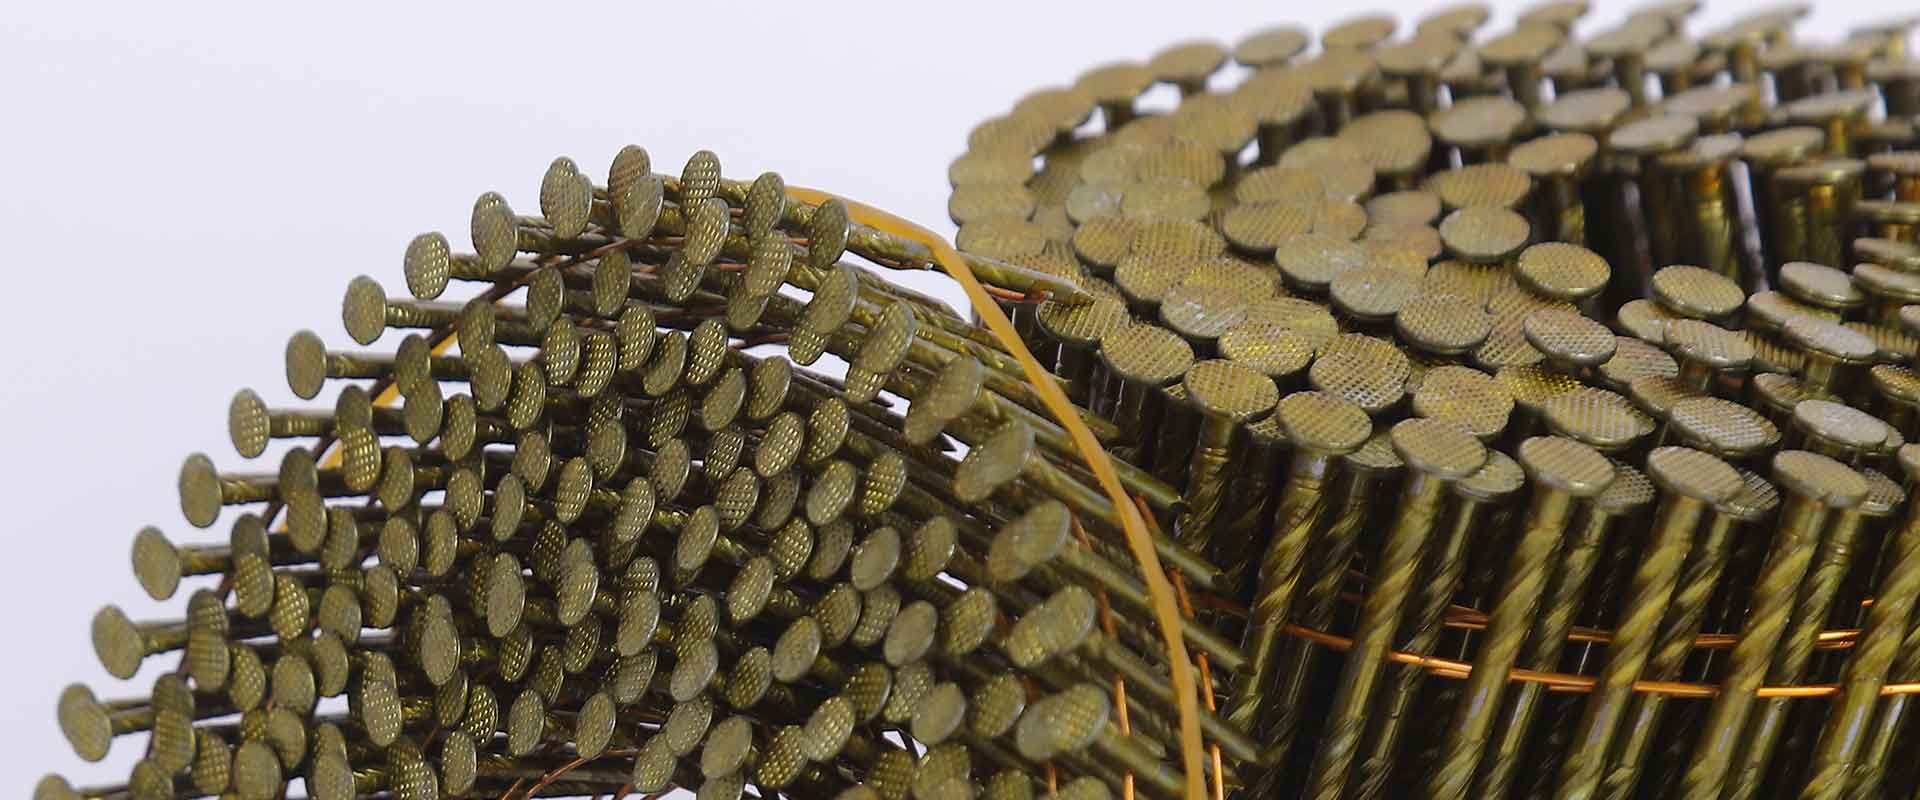
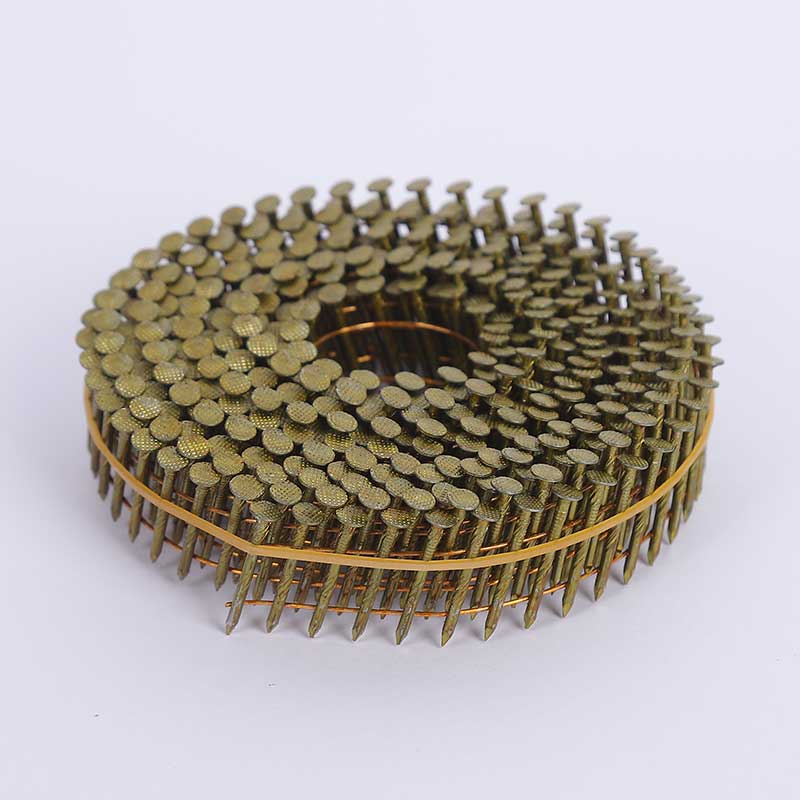
For coil-fed trials, keep collation and tool compatibility under review when requesting an alternative from the coated coil nail range. Record the actual product code rather than only its nominal length. The product photographs here identify fastener forms; they do not document a splitting test.
Follow the tool manual and the NIOSH and OSHA nail gun safety guidance. Keep hands out of the line of fire, use required protective equipment, and disconnect the air supply before clearing jams or servicing a pneumatic nailer. Never defeat a safety device or raise pressure beyond the permitted range to address nails splitting wood.
Decide What Happens to Cracked Work Before Release
A successful comparison does not automatically clear previously cracked assemblies. Keep suspect work identified and obtain a disposition against the applicable specification. Do not add extra nails, fill a crack, or substitute screws as an improvised structural repair. Appearance alone is not an acceptance test.
Send the supplier a concise nails splitting wood review package: before-and-after photographs, board dimensions and species if known, measured fastening locations, nail specification and lot, exact tool model, and the timing of cracking. State what was held constant and what changed. Request technical clarification or an approved sample proposal without assuming that a particular cause has already been established.
FAQ
Do reports of nails splitting wood always indicate a defective fastener?
No. Check the original board condition, actual fastening locations, nail specification, installation method, and when the crack appeared. A photograph of a nail beside a split does not establish which factor caused it.
Will blunting points always stop nails splitting wood?
No. Point changes involve tradeoffs and should be reviewed for the intended assembly. Do not modify collated nails or tools as an informal production fix.
Is there one pilot-hole diameter that solves nails splitting wood?
No universal diameter is specified here. Use an approved method for the exact fastener, wood, and joint. A crack-free sample alone does not establish acceptable connection performance.
Can drying contribute to nails splitting wood?
It may contribute. Compare earlier photographs, unused boards, and recorded storage and moisture conditions. Delayed discovery does not by itself prove when the crack began or exclude a fastening-related cause.
Can a cracked assembly be accepted after adding more nails?
Do not assume so. Additional fasteners are not a substitute for a specified repair or an authorized disposition. Keep affected work separate until the responsible person has decided whether it can be repaired, accepted, or rejected.